
Tags
Baby Shower, Birthday Party, bridal shower, Cricut, Cricut Design Space, Cricut Explore, mini garland, party, party invitation, party invite, pool party, snail mail
I love getting personal mail. Not bills. But actual pen-to-paper, sealed and stamped mail. Postcards are totally groovy too (if you’re ever on a trip, snail mail me a postcard!). Needless to say I love getting invites via snail mail too. I completely realize e-invites have their place in the world (they make life easier) and an email dishing a party’s details is perfectly fine. There’s just the surprise of getting snail mail love; it’s totally unexpected and FUN. It also makes something that may seem ordinary all the more extraordinary.
This rung true while planning a little get together. There’s no special occasion (it’s not a baby shower or birthday party). I just wanted to get the ladies together. I know I could’ve sent something electronically and called it good, but I wanted to give some analog mailbox love. I created a similar invite on my Cricut Explore, but the below DIY uses items easily accessible. If you have a Cricut and want the pattern, please leave a comment below – or send me an email – and I’ll email you the Design Space link.
Cute idea. Easy to do. Let’s get to it.
 Materials for Invite: patterned paper // pen // 2.25″ hole punch // 1/8″ hole punch // gray baker’s twine // scissors // alphabet stickers

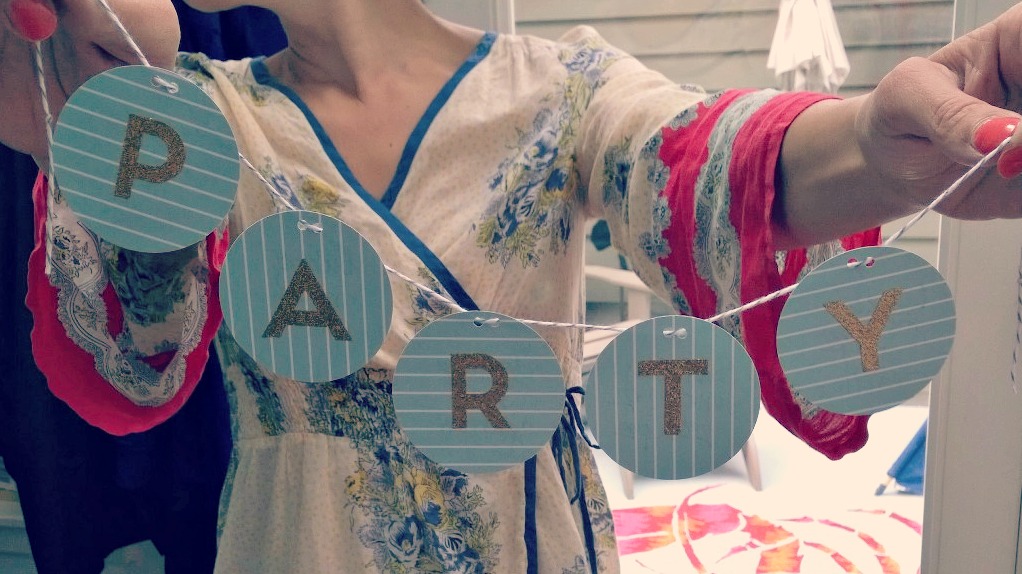
- Punch five large circles per garland invite, if using “PARTY.” Cut off excess as needed to maximize the paper’s usefulness. Hole Punch Tip: I flip the hole punch over so I can easily line up the holes right next to each other, minimizing wasted space between punches.
- Using the small hole punch, punch two holes at the top of each circle. This helps knowing where the top is while writing on the backside too.
- Write out the invite on the circles’ backside (the blank side). On a piece of paper, write out a draft so you can easily copy in the invite’s text: what, when, where, and rsvp info. Additional details, like registry information if it’s for a baby or bridal shower; a personal note; remind the invitee to bring a towel if it’s a pool party; or use a fun stamp on the last circle.
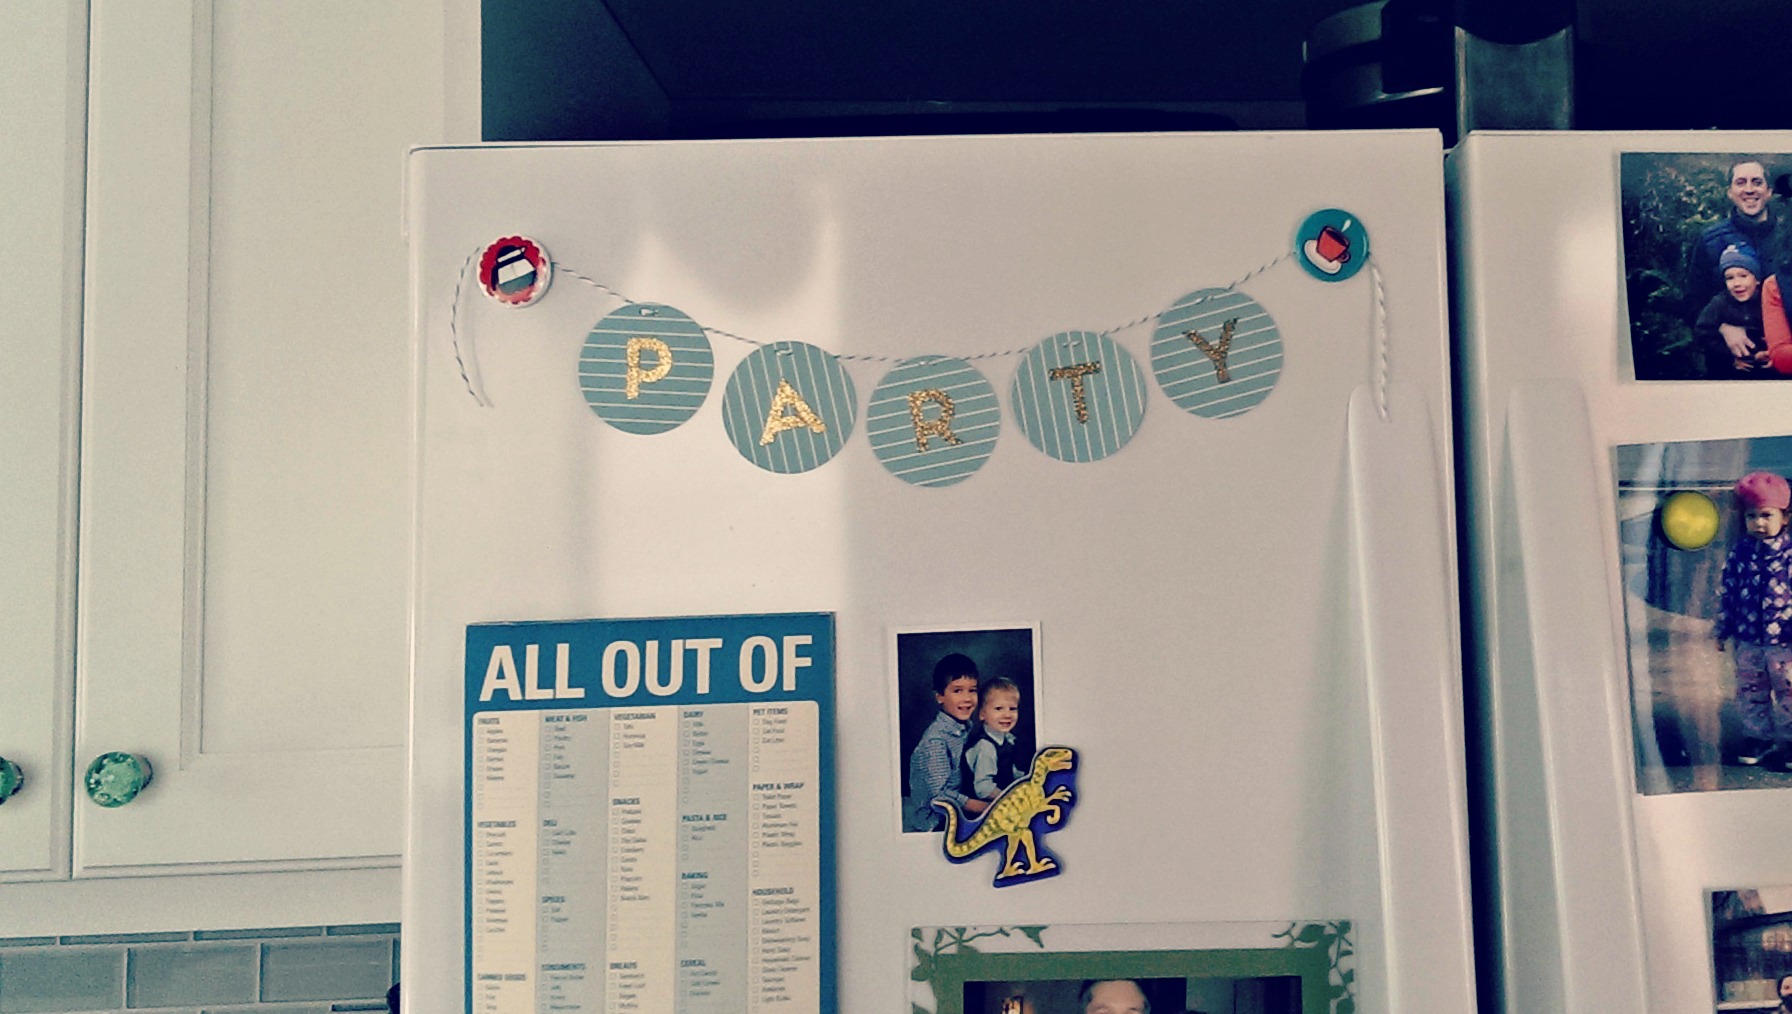
- Lace the circles with baker’s twine, making sure the invite information reads correctly. Baker’s Twine Tip: it’s worth buying it in bulk (100+ yards) instead of those tiny packages with just a few feet. I buy neutral-colored spools, like the gray and white stripe, which makes it easier to use for various projects.
- Turn the garland around, with pattern facing up and the baker’s twine at the top, and place alphabet stickers on banner to spell out your call to action.
 Ta-dah!
For mailing:
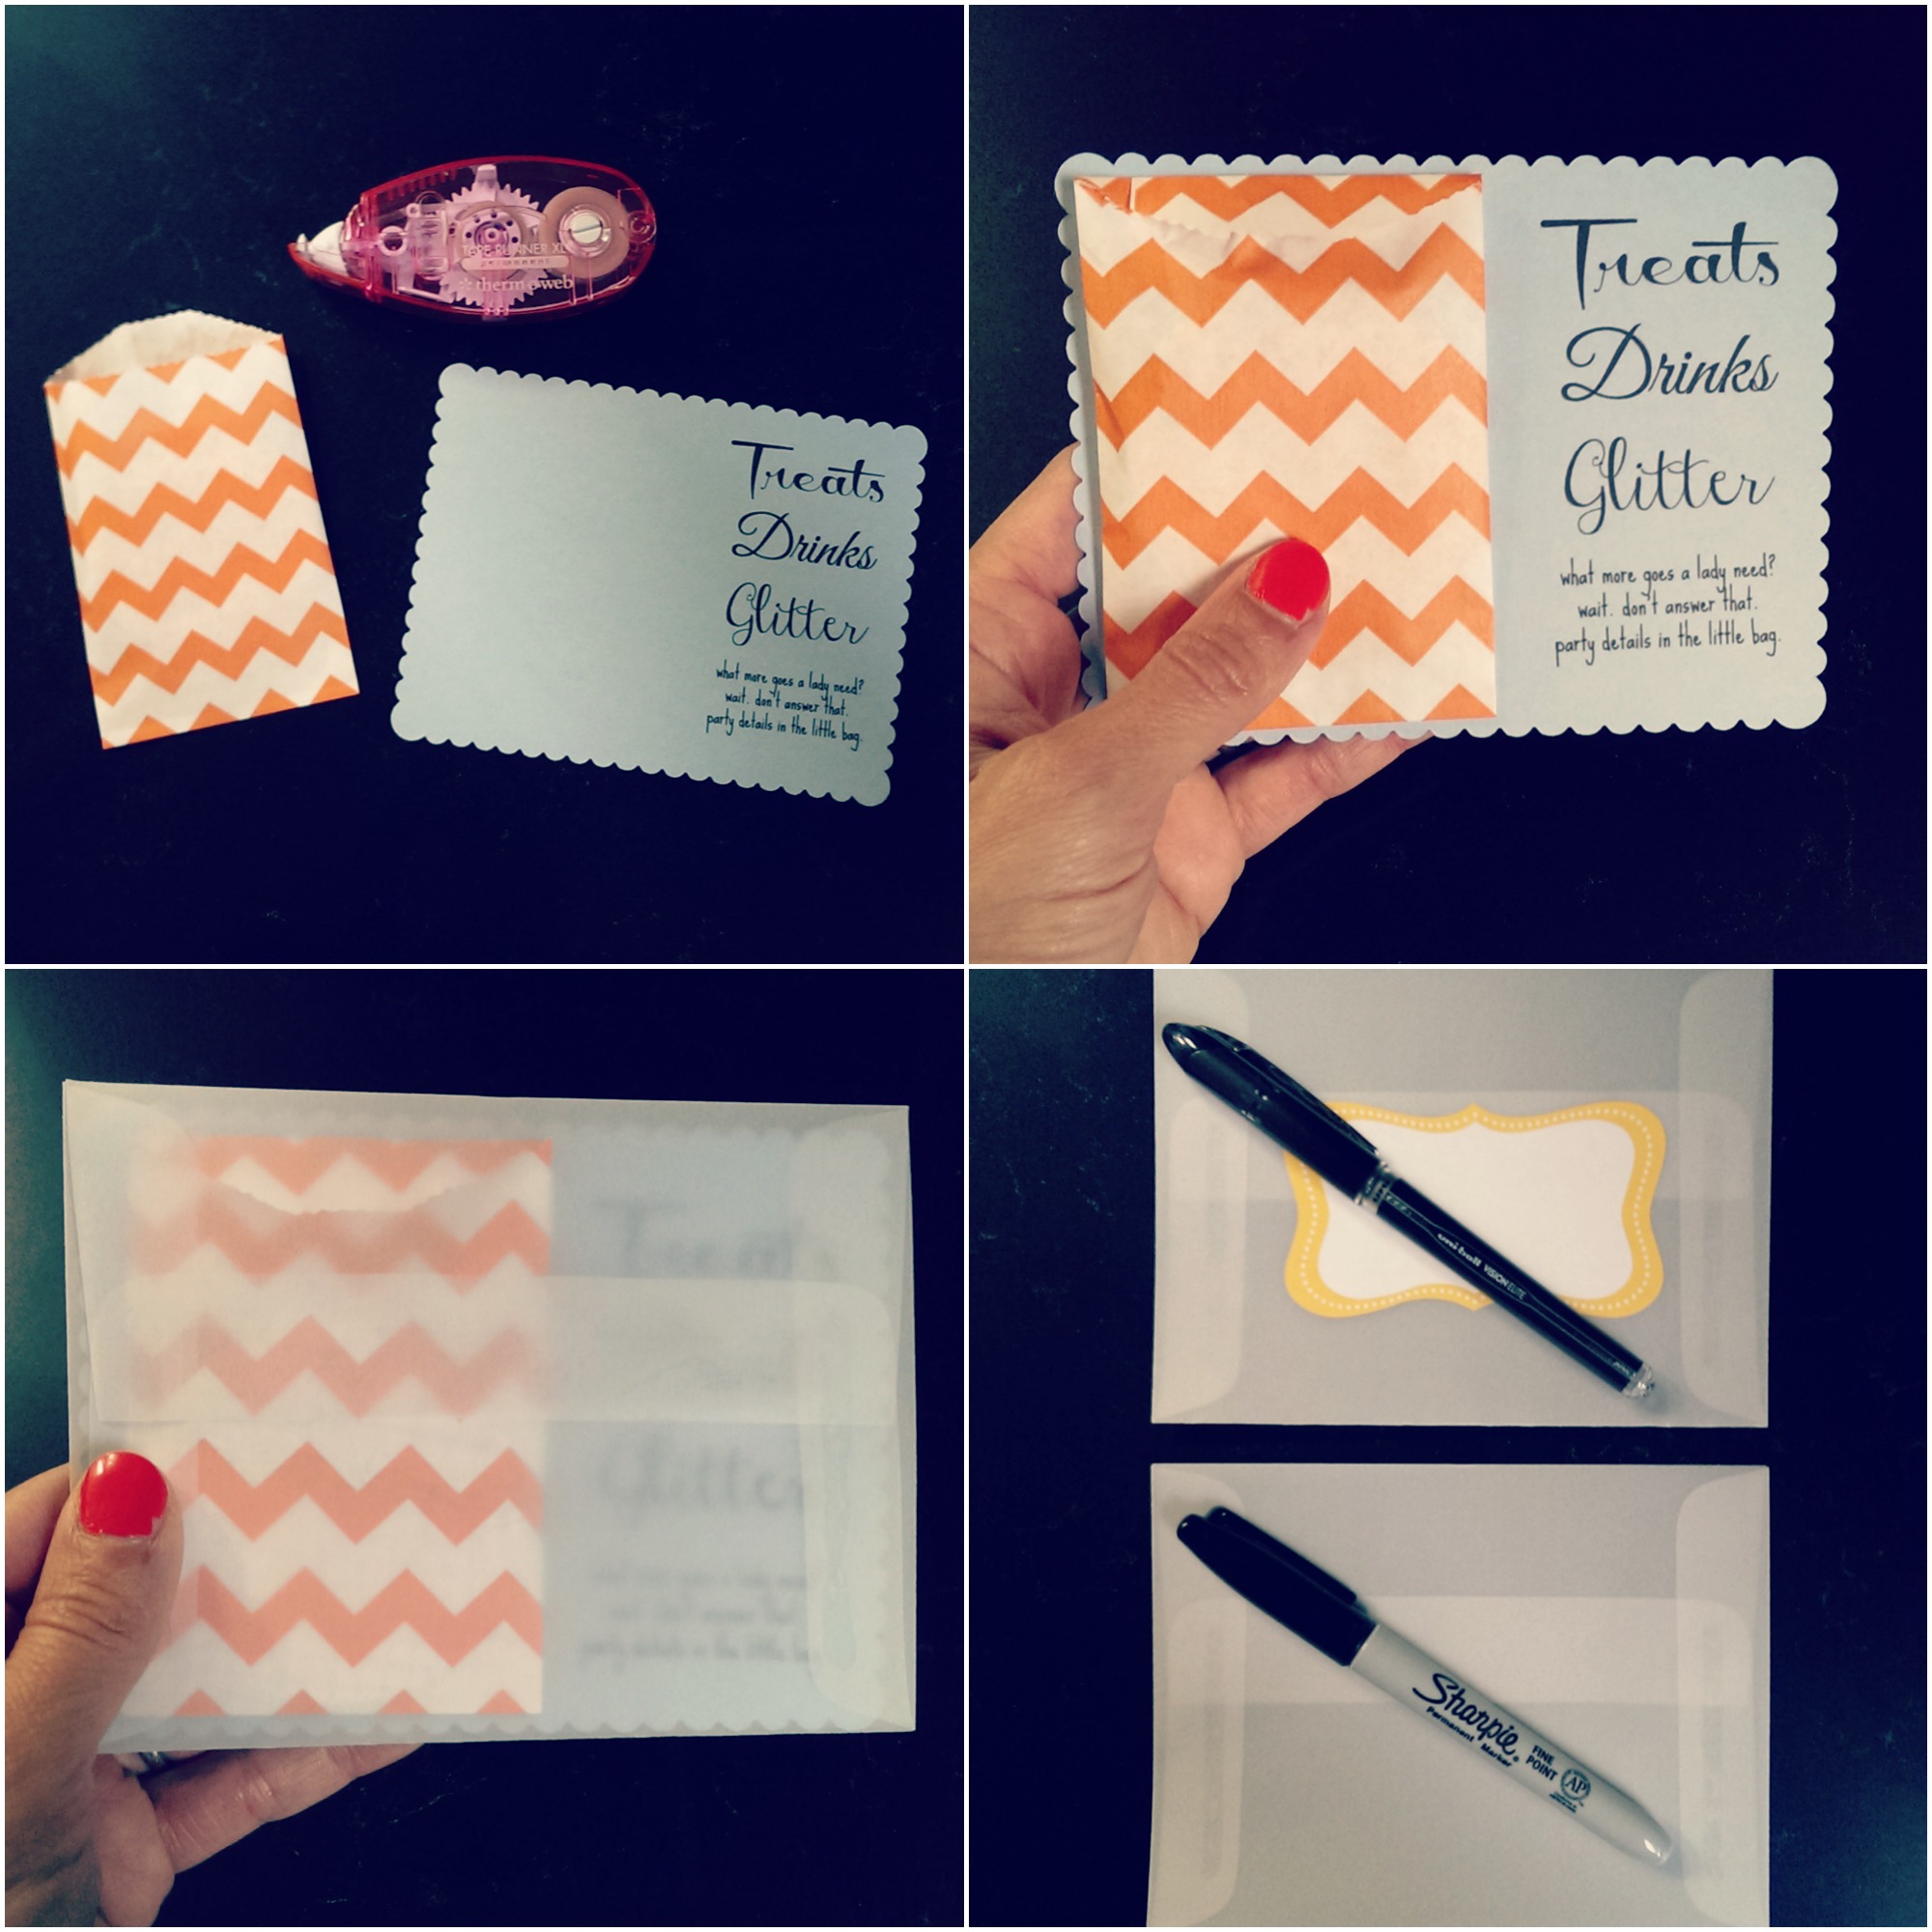 Materials for mailing: glassine envelope (size A2 used above) // flat card (size A2 used above) // mini flat party favor bag, 2.75 x 4″ // double-sided tape roller // labels (optional) // pen
I used my printer for the cards’ text. It was really quick, but you could easily handwrite a line or two telling the invitee to look in the bag.
- Place three small tape lines on the backside of the party favor bag. Center the bag over the space and press firmly.
- Accordion fold the garland and slip into the bag – and to make it all the more like a party, add glitter or confetti. Fold the top to close.
- Slip the card into an addressed glassine envelope. Addressing Tip: If using a label, a regular pen will do the trick. If no label is used, a fine-tip Sharpie pen works best.
- Don’t forget the postage stamp!
If you happen to make this, please share a picture of your creation with me! Please include Sparrow’s handle and use #SparrowCreates so I can see what y’all made! Can’t wait to see the creative goodness!
—
Come hang out with this lil’ bird!
like sparrow | tweet with sparrow | sparrow’s pins | sparrow’s snaps

Pingback: Name the ‘Stache {game & free printables} | The Sparrow's Nest
Pingback: It’s Friday & I’m Alive! | The Sparrow's Nest