
Tags
Bridal Party, Bridesmaid Gift, Cricut, Cricut Design Space, Cricut Explore, Design Ideas, Design Space Star, DIY, Entertaining & Gathering, Gift, Gift Ideas, Giveaway Gift, Guest Book, Hostess Gift, Leather Notebook, Leather Photo Album, Reception, Wedding, Wood, Woodland
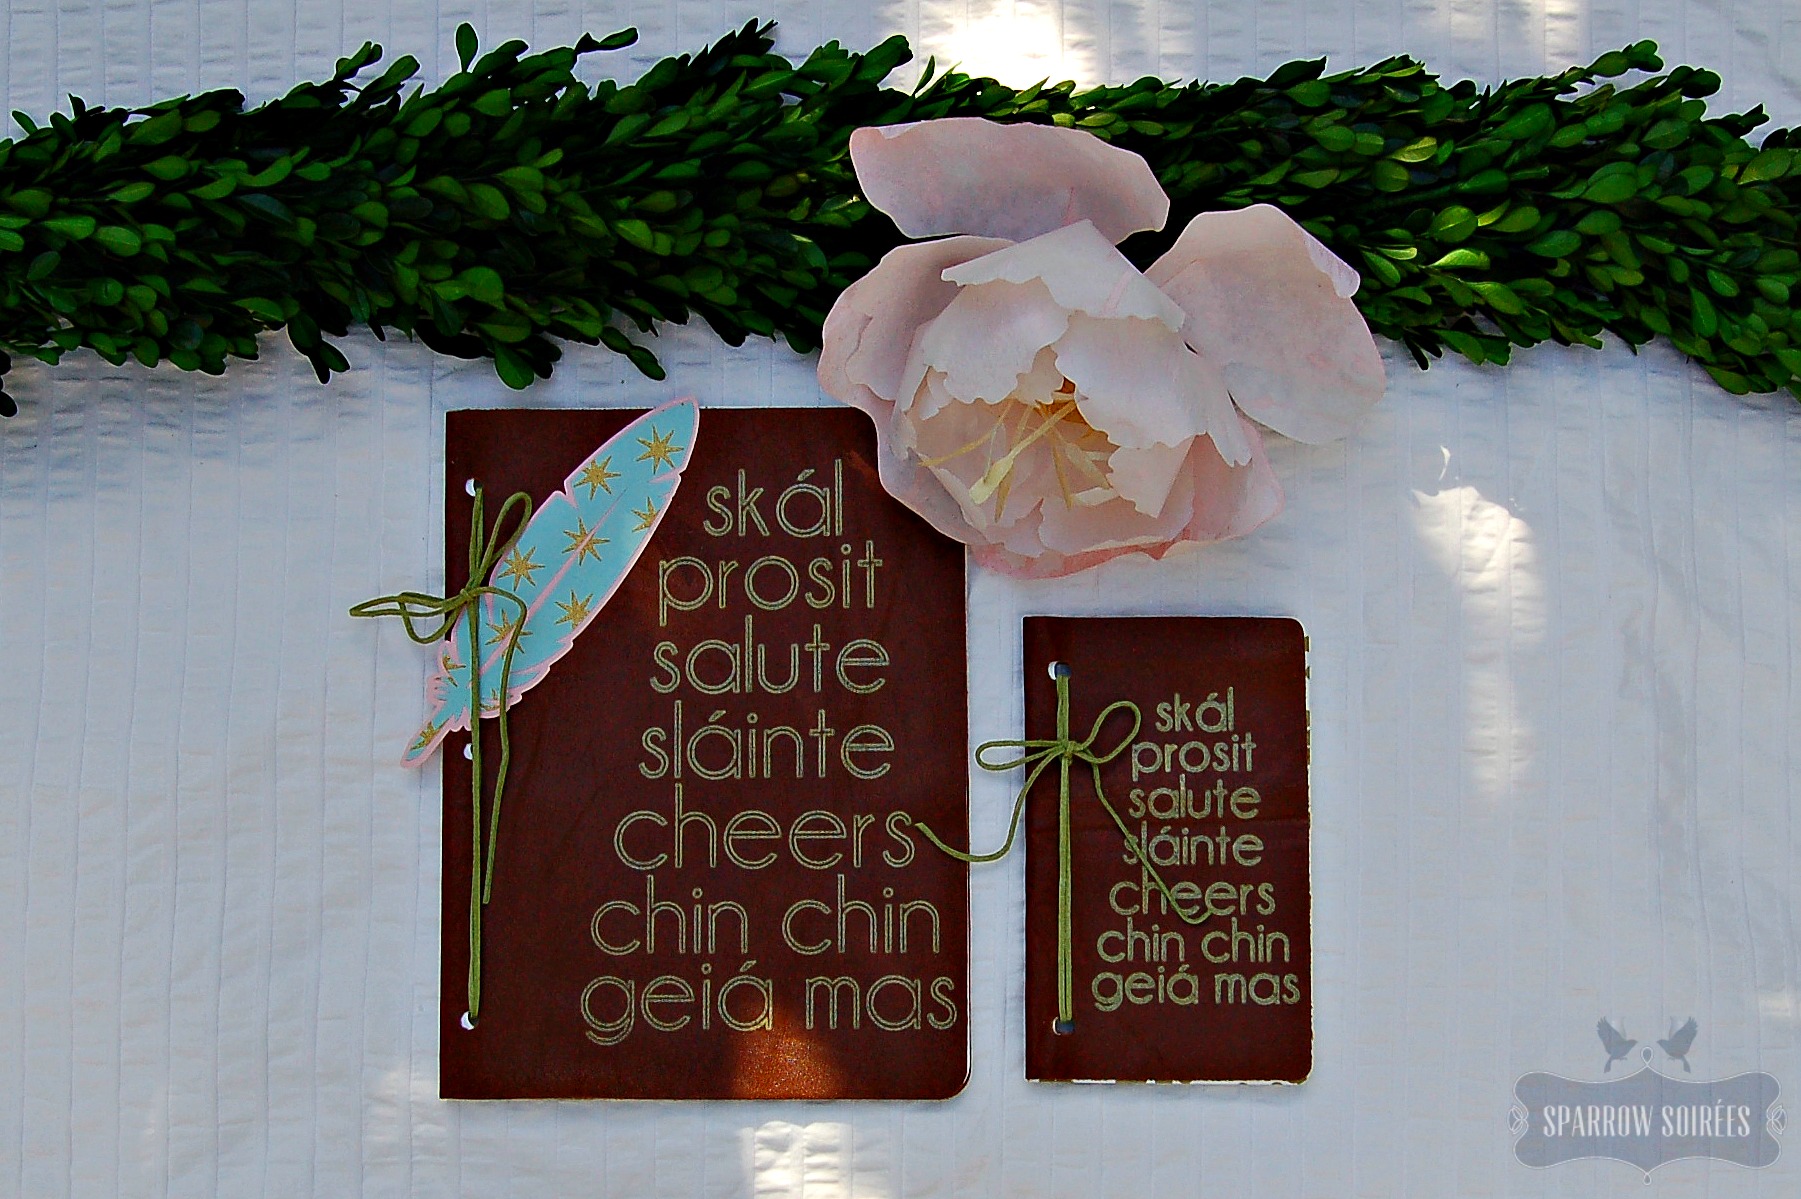
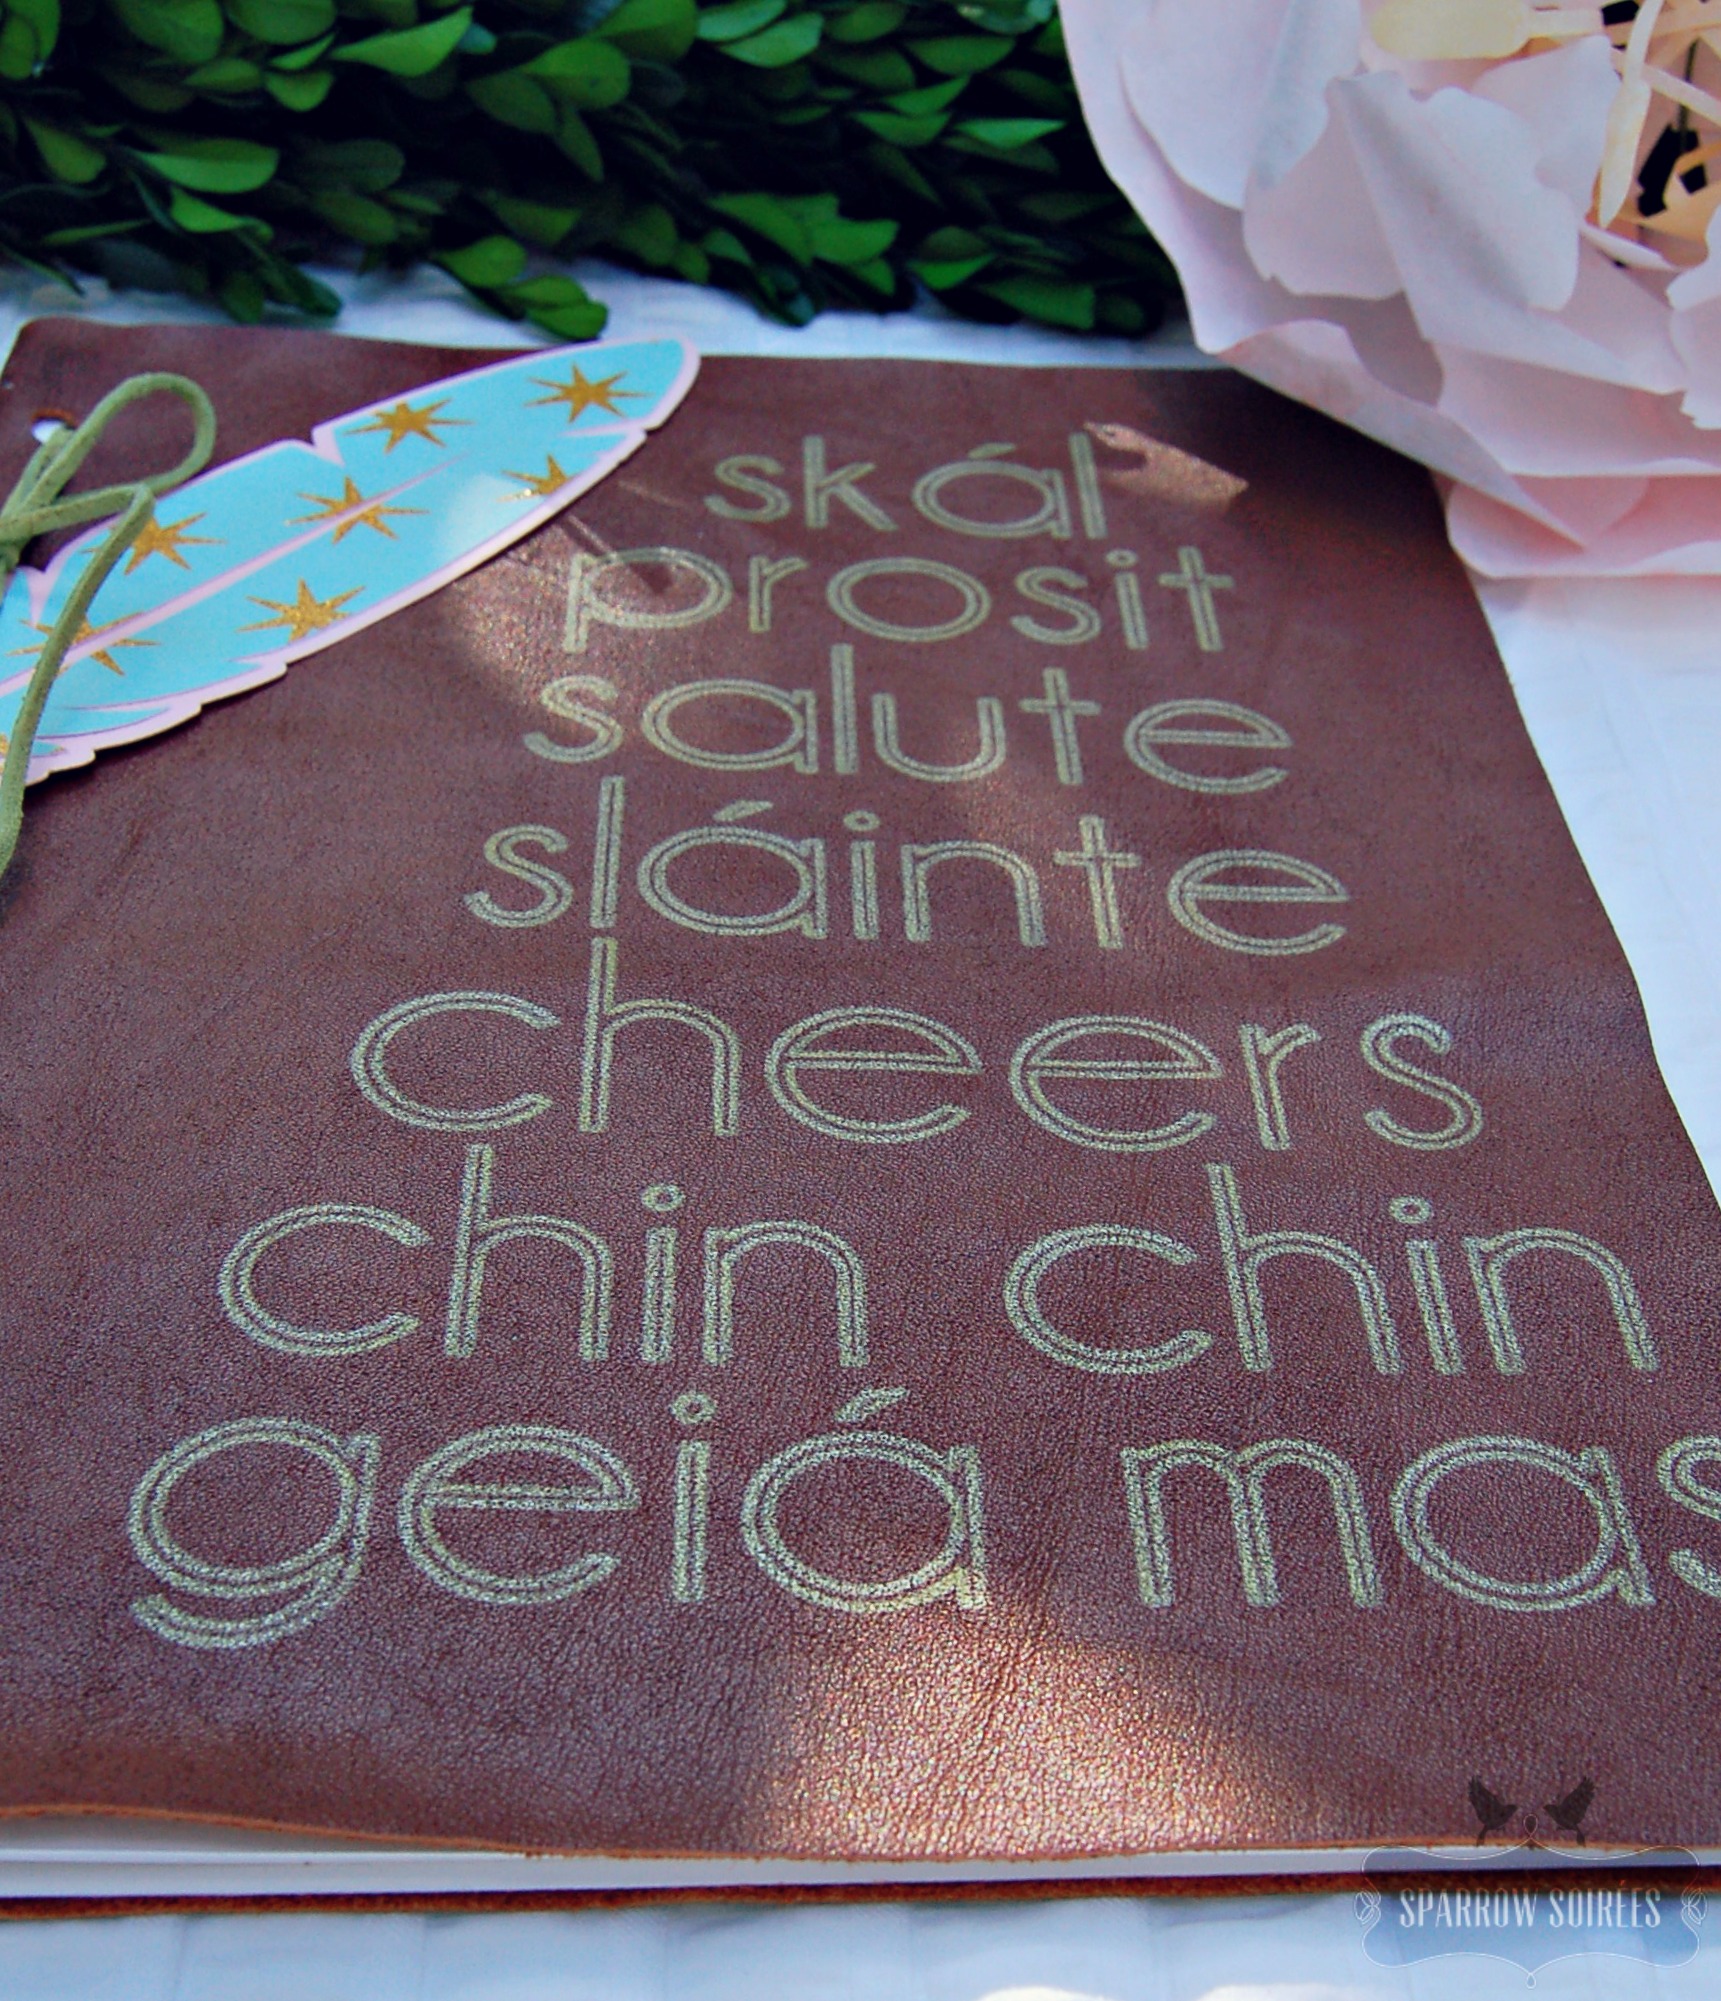
As promised in the two previous posts, here’s a fun – and unique – idea for a gift, party giveaway or somewhere in-between. The notebook was sparked as an idea for couples to give to their wedding party, in part as a thank you gift, but also a way to hand out the day’s – or weekend’s – itinerary so everyone can stay on the same page (Sorry! I couldn’t help myself!). The album could also be used as a special keepsake book for a special milestone event – like a wedding, birthday, baby shower, anniversary – with guests writing a note in it. The feather included with both books, can serve as a gift tag or bookmark – I just loved how the leather looked with the pattern on the feather.
Total time: aside from modifying the notebook, designing the album and laying out the lettering, the entire project took about 30 minutes for one set. The main time commitment was waiting for the Explore to draw and cut; the assembly went by lickety-split.
Notebook Supplies:
Leather, 8×10″ (minimum) // Suede cord for binding // Confetti Paper Placemat // Seed Paper** // Gold Metallic Pen // Deep Cut Blade for Explore // Standard Cut Blade (comes with Explore) // Standard Grip Mat, 12×24″ // Light Grip Mat, 12×12″
Album Supplies:
Leather, 12×18″ (minimum) // Suede cord for binding // Gold Metallic Pen // Cricut Score Tool // Deep Cut Blade for Explore // Standard Cut Blade (comes with Explore) // Standard Grip Mat, 12×24″ // Watercolor Paper** (12×18″ minimum for cover sheet, 9×11.5″ minimum for pages) // washi tape or photo corners (optional)
Feather Gift Tag:
Mint & Gold Cardstock // Blush Cardstock // Roller Tape
Design Space Link:
Cheers Notebook & Album
** Number of sheets will vary depending on number of pages for your books. See cut preview for layout needs.
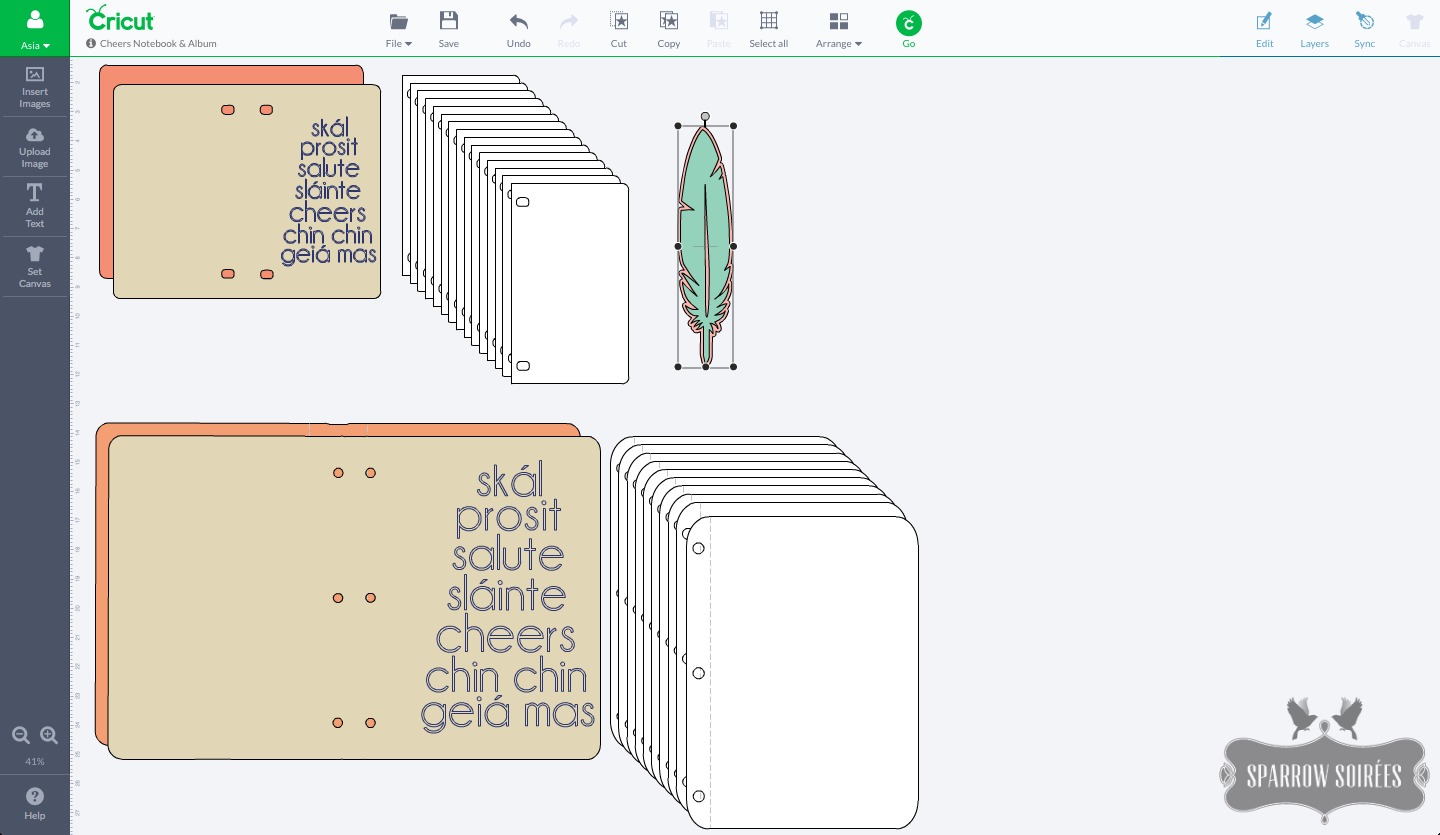 Everything was created in Cricut’s Design Space. For the notebook, I slightly modified the template originally created by Vintage Revivals (it was love at first glance when I saw what Mandi created). For the album, I started from scratch and it took some time to get it right. Admittedly, I had to walk away at one point to collect my cool and made a snack (tip: never design a DIY on an empty stomach).
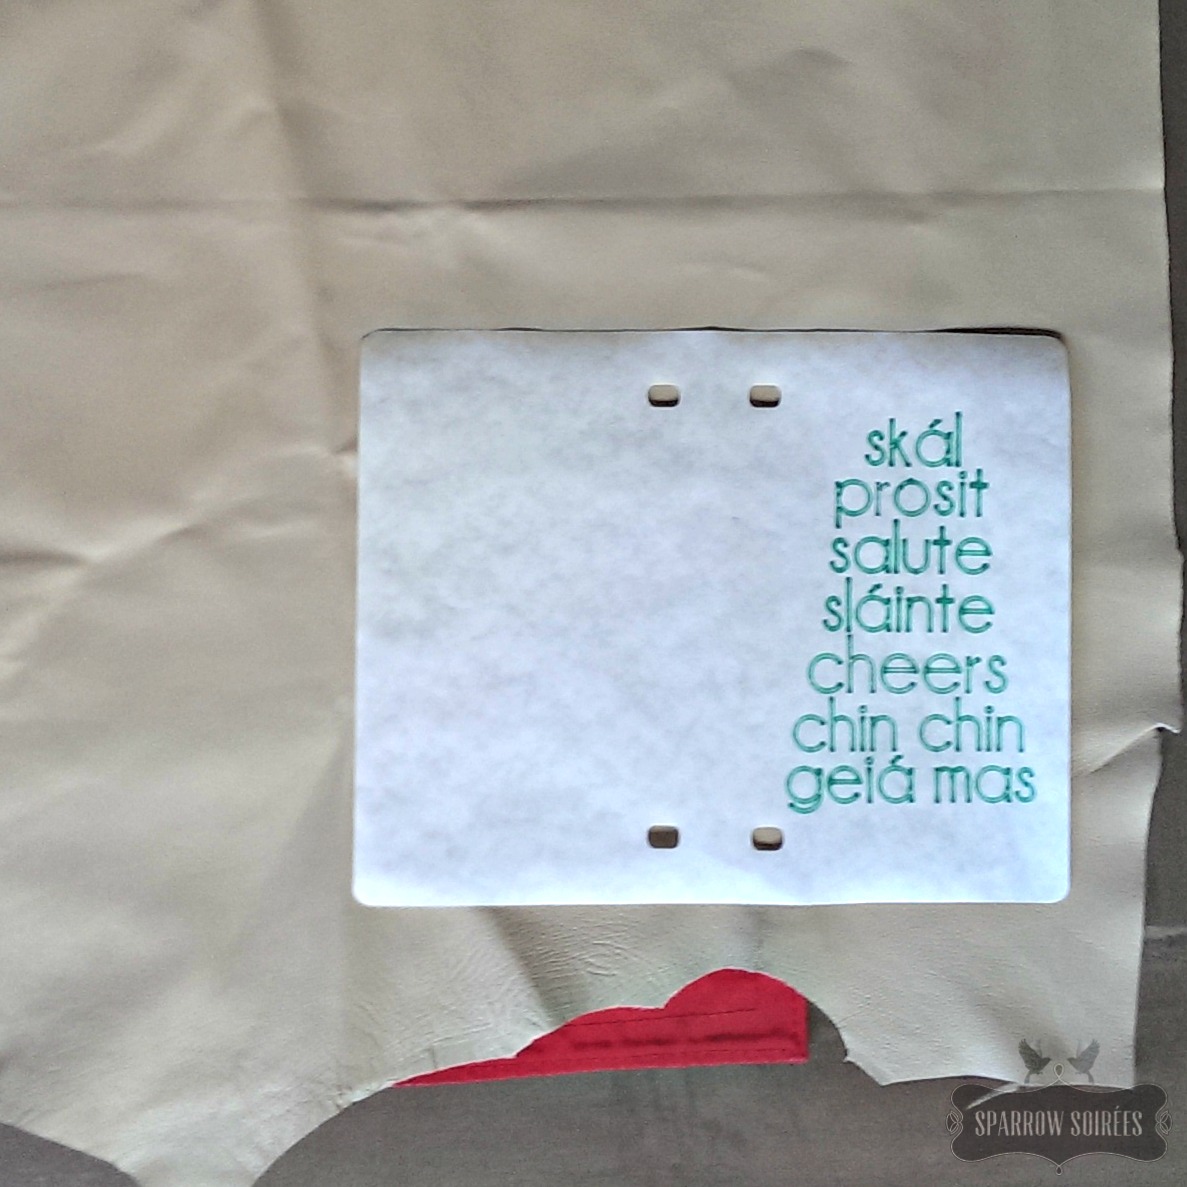
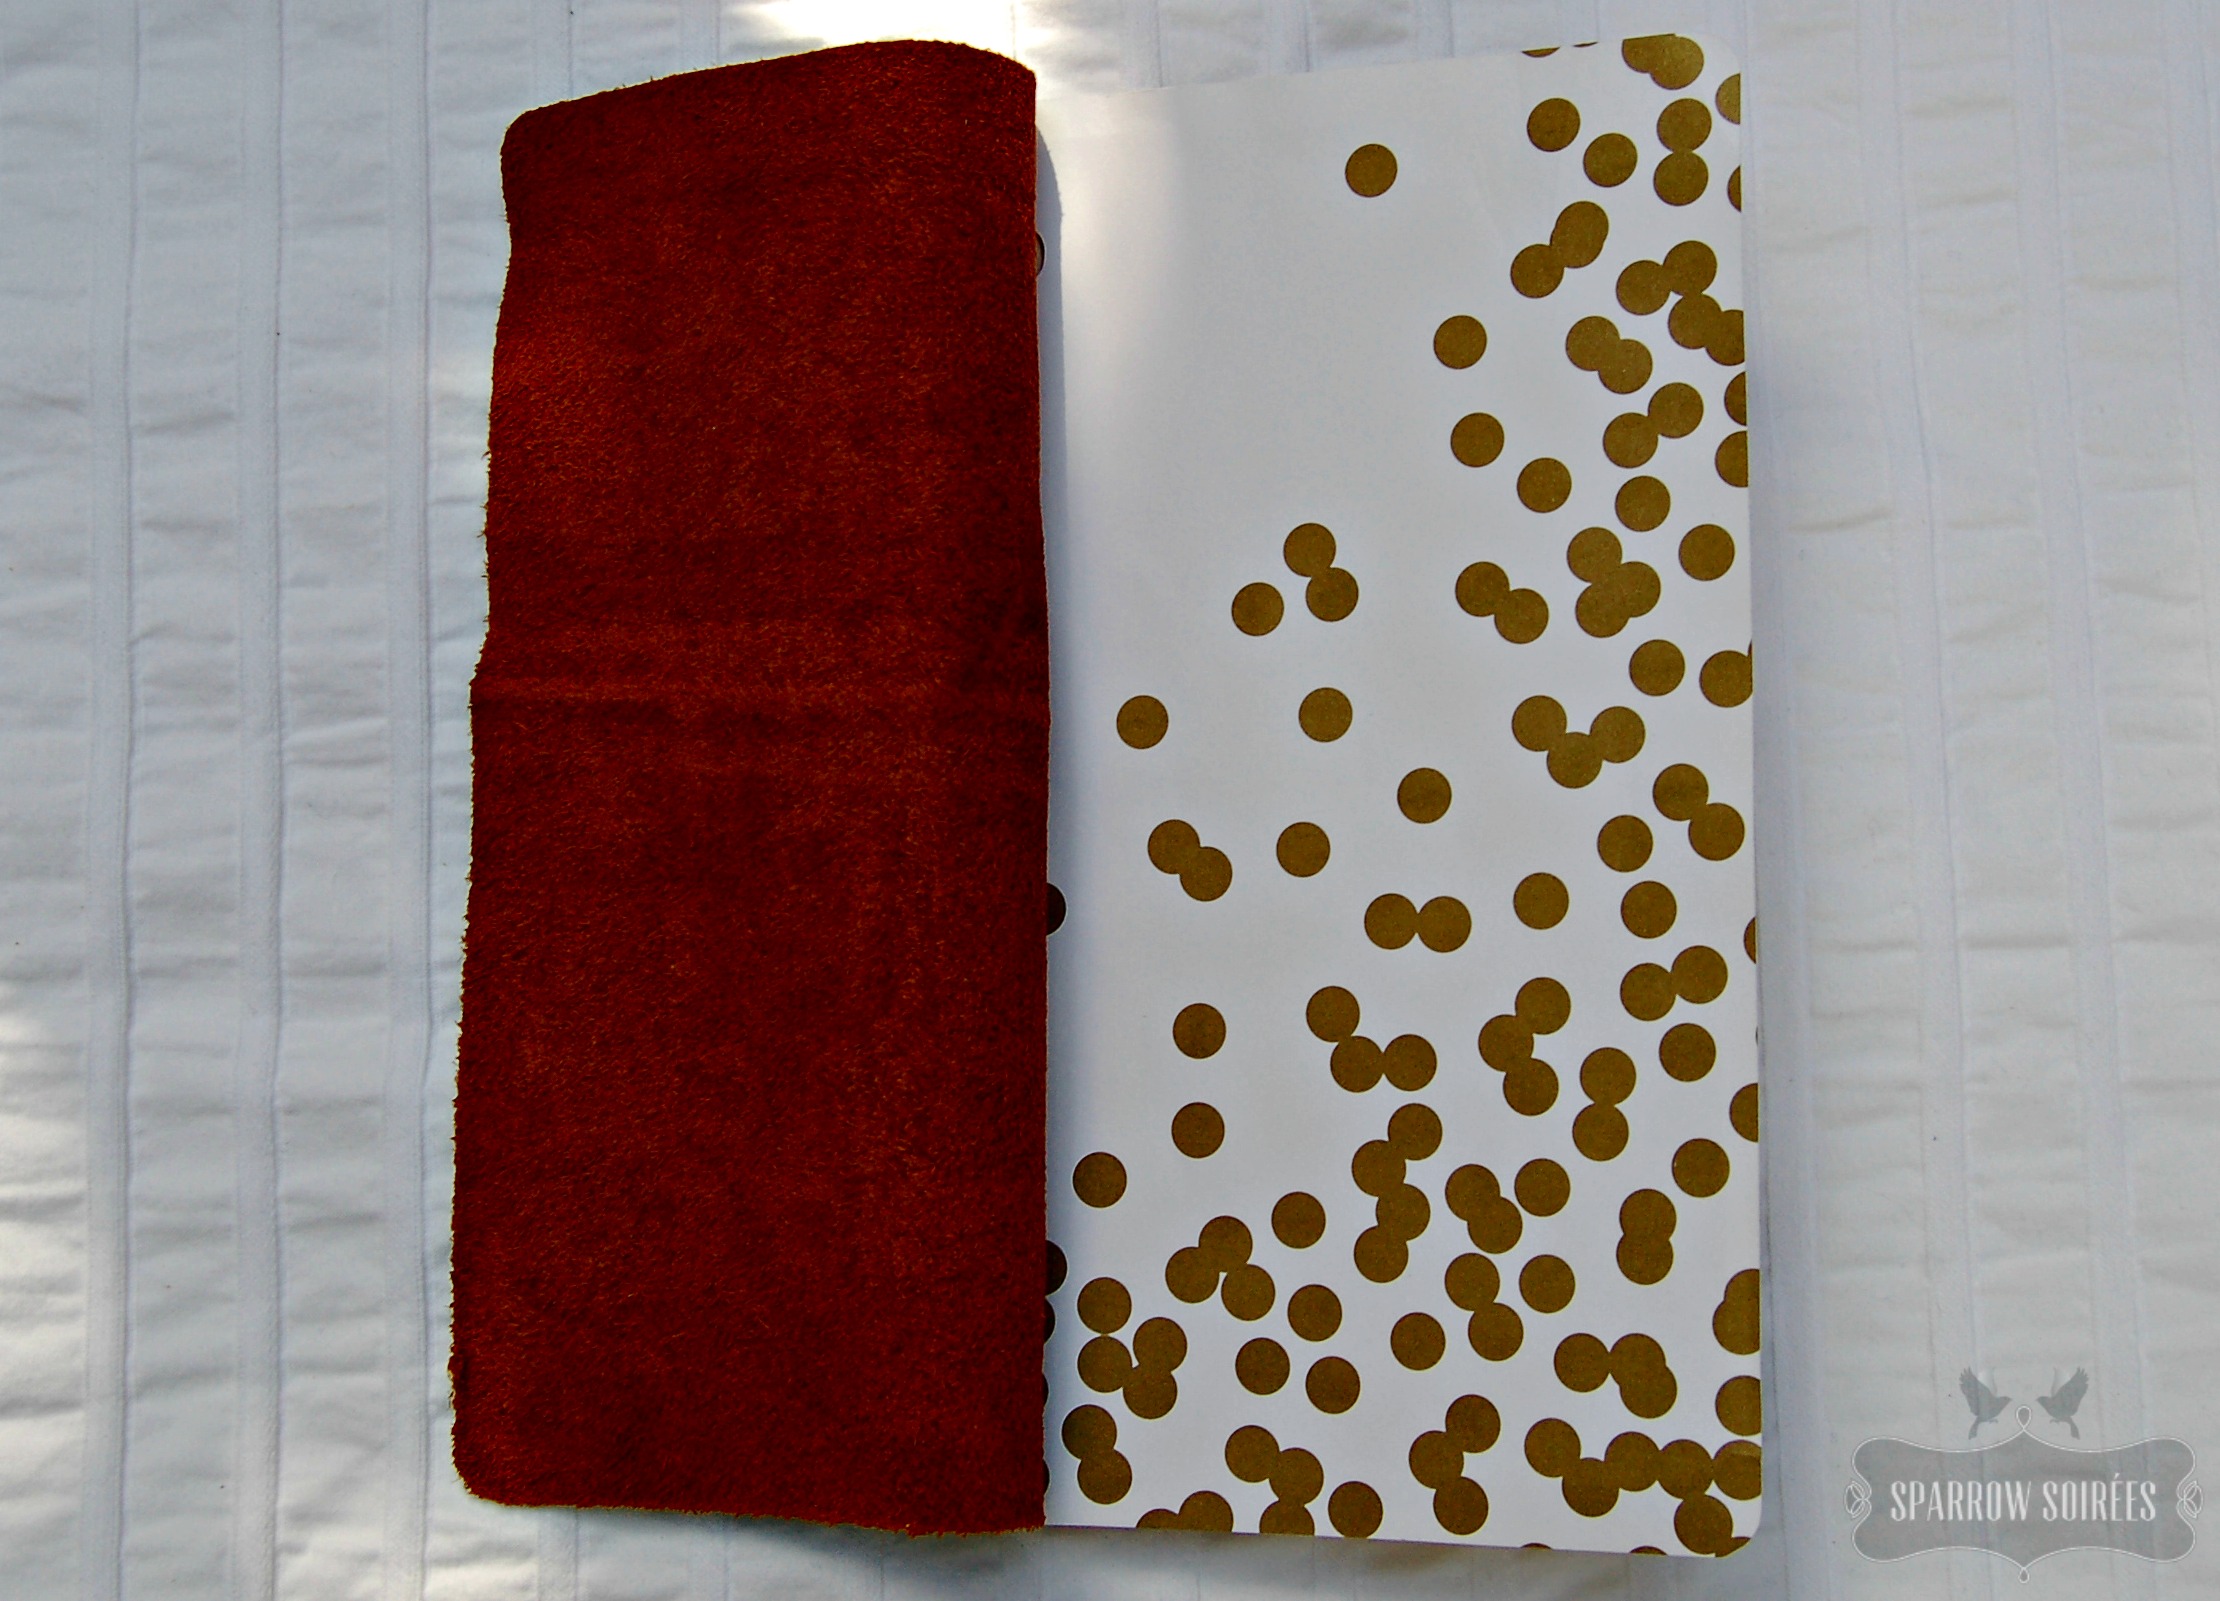
While designing a project, or if I’m unsure about the layout or sizing, I’ll run it through Explore on paper so to have a prototype on hand to check and adjust as needed. I use white, all-purpose paper for a majority of my projects in these situations. It’s cheap, easy to work with, and you don’t waste your project materials – in this case, the leather! The paper comes on a large roll so a piece can be cut for standard or long mats. (This was the same paper I used for the peonies for the Woodland Centerpiece.)
I thought about using a leftover piece of lighter leather from another project (pictured above), but it didn’t jive with me. I wanted something warmer; something to convey the feeling of a toast and clinking glasses with those around you. After a little hunting online, I found an ahhh-mazing piece of whiskey leather and ordered it immediately.
While waiting for the leather to arrive, I cut the feathers, cover sheets and pages for both books (Light Grip Mat and Standard Blade for everything but the album’s cover sheet, which had to be cut on the larger mat). I had leftover seed paper from a wedding I coordinated last year, and love being able to use the remaining sheets in smaller, special projects. Once the pages are full, instead of recycling them, you can plant the pages and wildflowers will bloom.
The watercolor pages were used for multiple reasons. First, it’s a sturdy paper, ideal for holding pictures and a guest book. It also gives the album an instant boost of tactile quality. It’s available in large sheets, which makes it easy to find a piece large enough for the album’s cover sheet. And finally, I wanted the book to have a certain weight for both the overall aesthetic and to protect what was inside (all those notes and photos are important, special keepsakes).
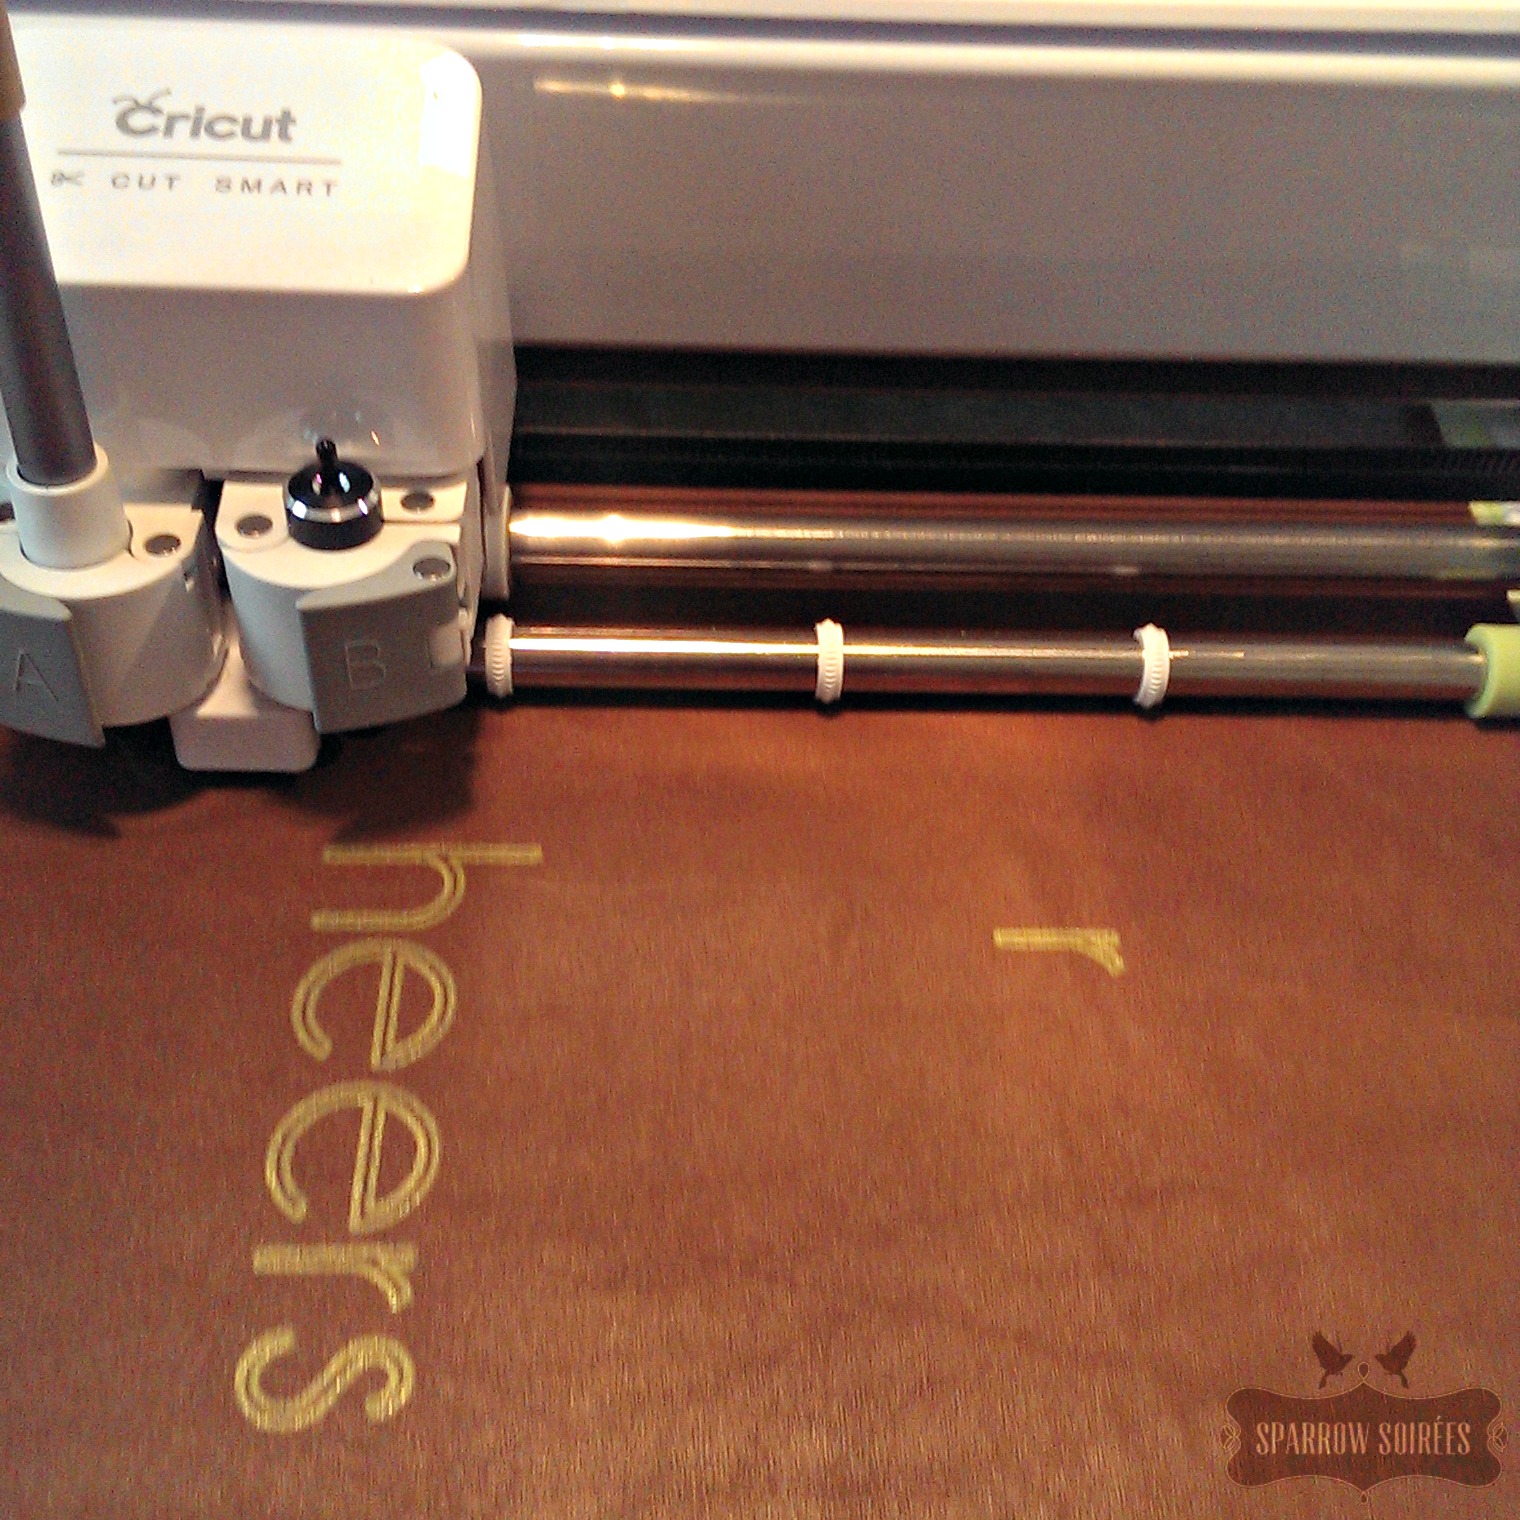
Once the leather arrived, I broke a sweat right before trimming the leather to fit on the mat. Then put the Explore to work and used the Standard Grip Mat and the Deep Cut Blade. For this specific leather, I created a custom setting – 256, 3x/cut – to ensure a clean cut, per the Explore cut cheat sheet.
FYI: A lot of leather is left behind on the Strong Grip mat, and can cause much anguish while cleaning. If you need to only cut a piece of leather – no drawing – place the leather rough-side up on the mat after testing for removal damage with a scrap piece (stick it on the mat as if you were going to run it through the Explore, then remove it to check for snags or pull marks). Otherwise, save your Strong Grip Mats for heavy duty material cutting, like thicker, tougher pieces of leather and whatnot, while using the Standard Grip Mat for leather projects that require drawing. Just make sure the leather and mat have a good seal (no air bubbles!), especially over the areas to be cut.
Once the leather and paper were cut to size, it was just a matter of putting everything together – and it was a little bit like making a sandwich (layers).
Assembling the Feathers: 1) Roll tape along center points and ends on the backside of the smaller feather and 2) center on larger feather.
Assembling the Notebook: 1) Lay the leather down, rough side up; 2) place the cover sheet, confetti-side down; 3) place the pages, lining up the holes along the way; 4) close the book; 5) lace the cord through the holes; and 6) secure by tying or knotting as you please. If the cover sheet is stiff, crease it along the center/binding.

Assembling the Album: 1) Crease the cover sheet and pages along the scored lines to make it easier to use at the event; 2) lay the leather down, rough side up; 3) place the cover sheet; 4) place the pages, lining up the holes along the way; 5) close the book; 6) lace the cord through the holes; and 7) secure by tying or knotting as you please.
To create additional interest on the album’s pages or cover sheet (or both!), watercolor the pages with your event’s color scheme or create a ombre effect on each page.
If you plan to use it as a guest book, but want to insert a few favorite photos from the event afterwards, place a 4×6″ flat card on each page so people will sign around it instead directly on the space. The cards could be quotes, questions for the guests to answer, pictures, or whatever you wish. Use washi tape or photo corners to secure the pictures once they’re ready to insert.
By the way – a good spot to find leather aside from tanneries and leather shops, is your local thrift shop. Take the paper template and look for leather bags, purses, jackets, skirts, pants, chairs, couches – basically whatever is present and within your budget. Check the item throughly before buying; lay your template on it, moving it around to find good spots and make sure there’s enough material. If you need to make a lot of these books (like more than 10), consider ordering the material, visit a fabric store, or call a tannery/leather shop, to save time and sanity. A much-needed shout out to my design space team for this idea – such brilliant brainstorming!
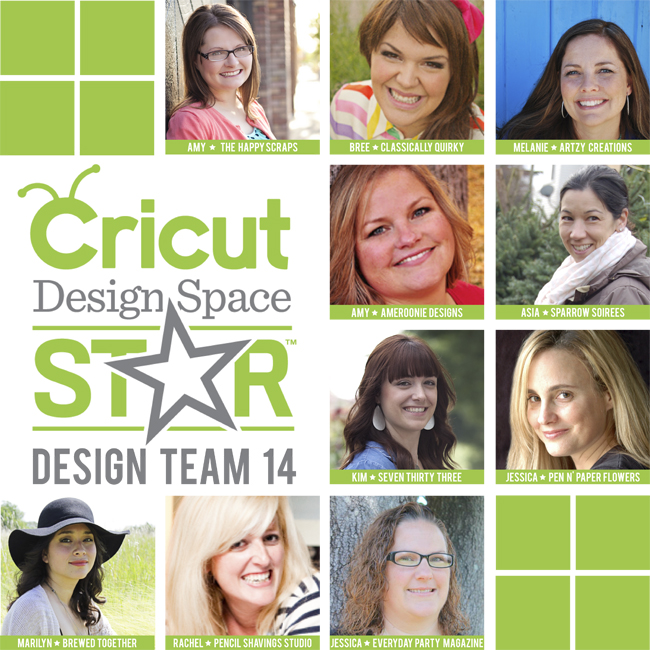
And while on the topic of team, please visit my fellow design team members’ posts (I’ll update as the posts go live): The Happy Scraps: Paper Bridal Bouquet // Classically Quirky: DIY Instagram Table Number/Advent Calendar Wall // Artzy Creations: Paper Flower Chandelier // Ameroonie Designs: DIY Custom Word Art // Seven Thirty Three: Rustic Invite // Brewed Together: DIY Photo Booth Props // Pencil Shavings Studio: Monogram Favor/Gift Tags // Everyday Party Mag: Woodland Centerpiece Candles
If you happen to be on Pinterest, it would mean the world to me (and my amazing team!!) if you could please repin the our projects from Cricut’s Design Space Star board. Here are links directly to my projects’ pins: the place-card, the menu, the centerpiece and the leather cheers notebook/album. I’ll add in the notebook and album in once they’ve been pinned after submission. Thank you so much!
This has been quite the week: three DIY posts! I know it’s not the norm for me, but thank you for letting me share my Cricut Design Space Star submissions. There are two more months to go but hopefully I’ll be able to space those posts a little better. Thank you again!
Disclosure: This post contains affiliate links. I’m also a member of Cricut’s Blogger Network. I may receive prizes in exchange for a winning project with Cricut Design Space Star. All opinions are 100% my own.
—Come hang out with this lil’ bird!
like sparrow | tweet with sparrow | sparrow’s pins | sparrow’s snaps

Vanessa said:
These are sublime! You should seriously think about producing more to sell. I’m sure people would be clamoring to snatch them up. Including me!
arv said:
Thank you so much! Maybe I’ll make a few as a giveaway at Alt – maybe the PNW get-together?! – and see how it goes. xoxo
Pingback: DIY Rustic Wedding Invitations - seven thirty three